

Wreaths are one of the easiest upsells in the Christmas light installation business, and they make a massive visual impact on every job. After hanging thousands of wreaths across my career — and helping over 43,000 installers in our community dial in their process — I can tell you that the difference between an amateur wreath job and a professional one comes down to mounting method, placement, and efficiency. In this guide, I'll walk you through exactly how professional installers hang Christmas wreaths on every surface type, the tools you actually need, and how to price wreath add-ons to boost your average ticket.
| Surface Type | Hook Method | Height Assistance |
|---|---|---|
| Vinyl Siding | Adhesive Hooks | Ladder (standard height) |
| Brick/Masonry | Masonry Anchors | Ladder (standard height) |
| Metal Door | Magnetic Hooks | No ladder needed |
| Two-Story Height | Adhesive/Magnetic | Mr. Reach Pole ($40-$50) |
- Assess the mounting surface (vinyl siding, brick, metal, or two-story height)
- Select appropriate hook type (adhesive, masonry anchor, magnetic, or water-fed pole)
- Install hook securely at desired height
- Hang wreath using appropriate lifting method (ladder or Mr. Reach pole)
- Verify wreath is level and secure
Why Wreaths Are a Must-Add to Every Christmas Light Job
Wreaths are the single fastest way to increase your job total without adding significant time on-site. A pre-lit wreath hung on a front door or above a garage can add $200-$800 per wreath to the invoice depending on size and placement. Most residential jobs benefit from 2-4 wreaths — front door, garage, and windows — which means significant add-on revenue per job with minimal effort.
From a customer perspective, wreaths complete the look. A roofline with C9 lights looks great, but add matching wreaths on the windows and front door and suddenly the entire home feels finished. This is why I recommend every installer include wreaths as part of their standard package offerings. Even if the customer doesn't ask for them, present wreaths as part of the design — you'll close the upsell more often than not.
Choosing the Right Wreaths for Professional Installation
Not all wreaths are created equal, and the ones you'll find at big-box stores aren't built for commercial use. As a professional installer, you want pre-lit wreaths with LED lights that match the color temperature of whatever you're running on the roofline. If you're using C9 LED warm white bulbs on the gutters, your wreaths should be warm white too. Color consistency across the entire installation is what separates a pro job from a DIY one.
For sizing, here's what works in the field: 24-inch wreaths for standard windows and doors, 36-inch for larger front doors or garage entries, and 48-inch or larger for two-story focal points or commercial storefronts. The bigger the wreath, the bigger the wow factor — and the bigger the price tag you can justify. Stock a mix of sizes so you can match wreaths to the scale of each home.
When it comes to lighting, stick with LED. They draw almost nothing on your circuits, they last the entire season without issue, and they match the LED bulbs you're already running on the roofline. Every wreath should have a power cord long enough to reach your nearest extension cord run — or plan to build custom cords from SPT-1 zip wire and zip plugs to route power cleanly.
How to Hang Wreaths on Vinyl Siding
Vinyl siding is the most common surface you'll encounter, and there's a dead-simple method that requires zero screws, zero glue, and zero damage. The key is using a siding hook — a small metal or plastic hook that slides up under a vinyl siding panel and locks into the seam. You slide it in, let the siding sit back down on top of it, and you've got a rock-solid mounting point that leaves absolutely no trace when removed.
For heavier wreaths (36-inch and up), use two hooks spaced about 12 inches apart at the top, with a wire or zip tie connecting them to the wreath frame. This distributes the weight and keeps the wreath flat against the wall instead of tilting forward. I've used this method on thousands of homes and have never had a wreath fall or a callback related to vinyl siding damage.
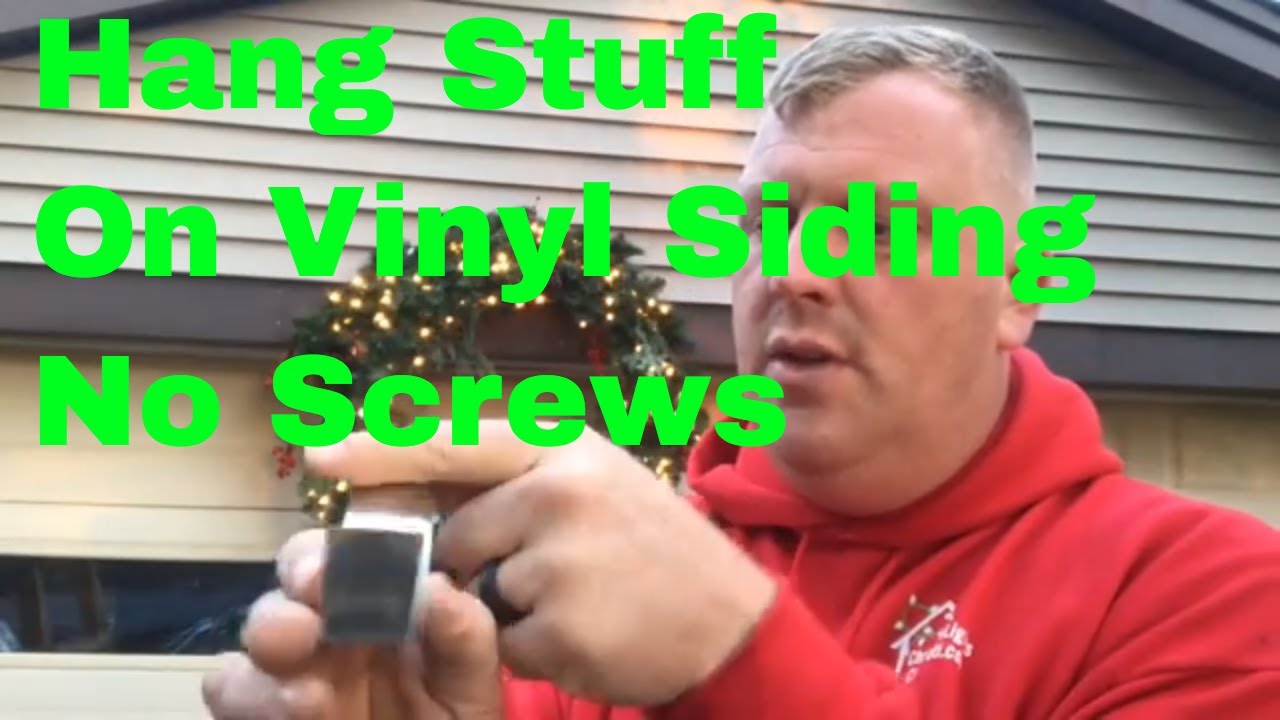
The siding hook method is also incredibly fast for takedown. You lift the siding panel, slide the hook out, and you're done. No patching, no touch-up paint, no angry homeowner. This is critical for maintaining your reputation and getting repeat customers year after year.
How to Hang Wreaths on Brick and Concrete
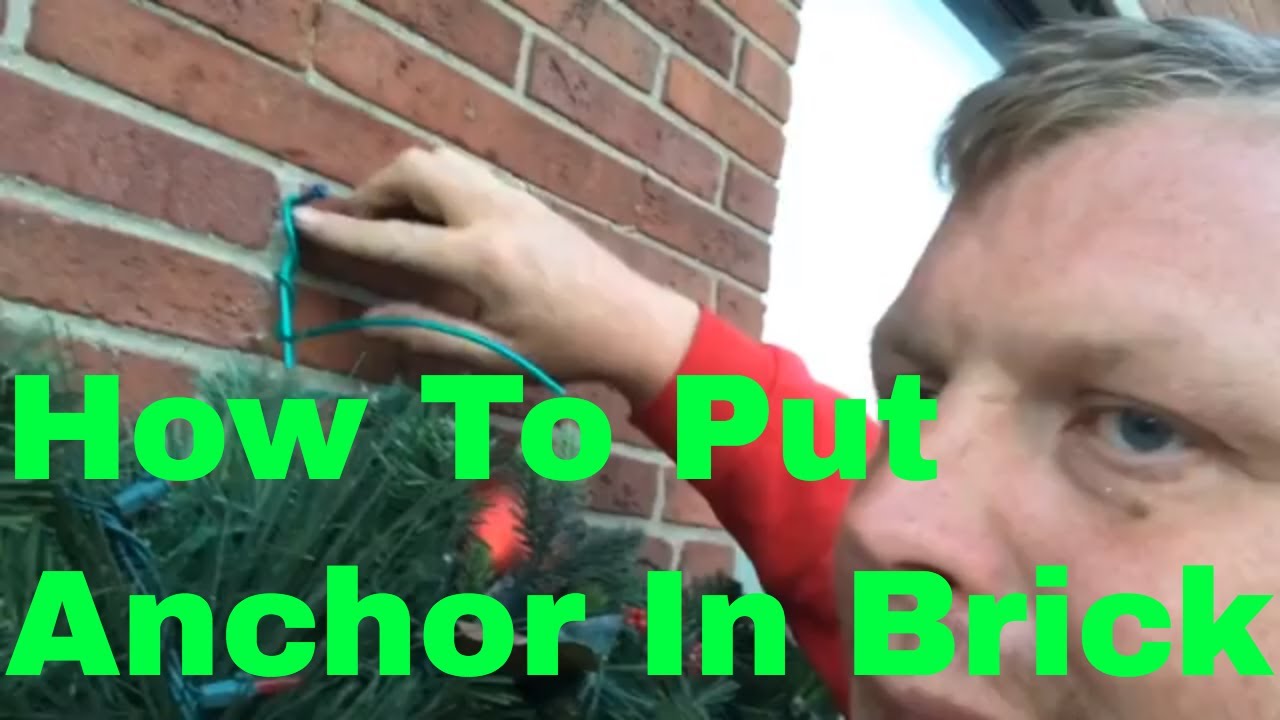
Brick and stone surfaces require a different approach since there's no siding seam to hook into. The professional method here is a hammer drill with a masonry bit. You drill a small pilot hole into the mortar joint (never the brick face), insert a masonry anchor or screw hook, and mount the wreath. This takes about 2 minutes per wreath and gives you the strongest possible hold.
A few key points from the field: always drill into mortar, not brick. Mortar is softer, easier to drill, and much easier to patch later with matching mortar filler. Use a 3/16" masonry bit for most standard screw hooks. And keep the hole as small as possible — you want just enough to hold the wreath securely through wind and weather.
For customers who absolutely refuse any drilling (it happens), you can use heavy-duty outdoor adhesive hooks rated for 5+ pounds. These work well in dry conditions but can fail in freeze-thaw cycles, so I only recommend them as a backup option. The drill method is more reliable and actually faster once you have your hammer drill out.
Hanging Wreaths on Two-Story Homes and High Placements
Two-story wreath installations are where you separate yourself from the competition — most DIY homeowners and many new installers won't touch anything above the first floor. That's exactly why you should. A large lit wreath centered on a second-story peak or between two upper windows creates a dramatic focal point that justifies premium pricing.
For high placements, your ladder setup is critical. Use a proper extension ladder with a standoff to reach the mounting point safely. The same mounting methods apply — siding hooks for vinyl, masonry screws for brick. The only difference is that you need to plan your power routing more carefully. Run the wreath's power cord along the wall and connect it to the nearest extension cord from your roofline circuit rather than running a separate cord all the way down to an outlet.
Pro tip: for very high placements where ladder access is limited, install the mounting hardware during your initial roofline installation while you already have the ladder in position. Then hang the wreath as your last step. This saves you from repositioning a ladder twice and cuts your install time significantly.
Routing Power to Wreaths
Power routing is where a lot of installers get sloppy, and sloppy power routing ruins an otherwise clean installation. The goal is to make every power cord as invisible as possible. Here's how I handle it:
For wreaths near the roofline, tap into your existing stringer wire runs. Run a short custom extension cord from the nearest female plug down to the wreath. Build these cords from SPT-1 zip wire — never use pre-made orange extension cords. Green or white zip wire blends with the house and looks professional.
For wreaths on doors or lower walls, route the cord along the door frame or window trim and down to the nearest outlet or extension cord. Use lite strip clips (VHB adhesive clips) to pin the cord flat against the trim so it doesn't dangle. The cleaner your cord routing, the more professional your installation looks, and the easier your takedown will be in January.
With LED wreaths, power draw is negligible. A typical pre-lit LED wreath pulls 5-10 watts. You can run 10+ wreaths on a single circuit without coming close to overloading anything. This is one of the huge advantages of an all-LED setup — you never have to worry about tripping breakers or dealing with voltage drop on your wreath circuits.
Pricing Wreath Installation for Profit
Wreath pricing depends on whether you're supplying the wreath or just installing a customer-owned one. Here's how I break it down:
Wreaths sell anywhere from $200-$800 per piece depending on size and placement height. A standard 24-inch wreath on a first-floor door or window is on the lower end, while a large 48-inch wreath on a two-story peak commands the higher end. These margins are excellent and the time investment is minimal.
Include wreaths as line items in your standard pricing. When you present the proposal, show the roofline price, then add wreaths as a "recommended" add-on. Present wreaths as part of the overall design — most customers say yes because the visual impact is obvious and wreaths complete the look of the entire installation.
Remember, your standard package of $8-$12 per foot for 100 feet of roofline should be your baseline. Wreaths are pure add-on profit on top of that. Target every job at $1,500-$2,000 minimum, and wreaths help you get there.
Wreath Takedown and Storage
Takedown for wreaths is the easiest part of the whole process. Remove the wreath from its hook, disconnect the power cord, and that's it. For siding hooks, slide them out from under the siding panel. For masonry screws, either remove them and patch the hole with mortar filler, or leave them in place if the customer is a repeat client (saves time next year).
For storage, keep each customer's wreaths with their other lights in their labeled tote. Use the circle wrapping method for any power cords — never figure-eight, as it causes twisting and tangles. Attach a zip tie label to each wreath noting which house it belongs to and where it was hung (front door, garage, etc.). This makes next year's installation dramatically faster because you already know exactly what goes where.
If you're doing 10-20 takedowns per day in January, efficient wreath handling saves you real time. Don't disassemble anything — leave clips on the wreaths, leave any attached hardware in place, and store everything together. The goal is to pull the tote out next October and have everything ready to reinstall in minutes.
Related Guides
- How to Install Christmas Lights Around Windows and Doors
- How to Hang Christmas Lights on a Roof Like a Pro
- Christmas Light Installation Equipment List
- Adhesive Christmas Light Clips Guide
- Christmas Light Takedown: Pricing, Process, and Profit
Frequently Asked Questions
What's the best way to hang a wreath on vinyl siding without causing damage?
Use siding hooks that slide up under the vinyl panel and lock into the seam. They hold securely, leave no holes or marks, and slide right out during takedown. For heavier wreaths over 36 inches, use two hooks spaced 12 inches apart to distribute the weight evenly.
How do you hang wreaths on brick or stone walls?
Use a hammer drill with a 3/16" masonry bit to drill into the mortar joint — never the brick face. Insert a masonry anchor or screw hook and mount the wreath. Drilling into mortar is faster, easier to patch, and gives a strong hold through the entire season.
How much should I charge for wreath installation?
Wreaths sell for $200-$800 per piece depending on size and placement. A standard 24-inch wreath on a first-floor placement is on the lower end, while large wreaths on two-story peaks command the higher end. Wreaths are high-margin upsells on top of your standard $8-$12 per foot roofline package.
How do I route power to wreaths without visible cords?
Build custom extension cords from SPT-1 zip wire in green or white to match the house. Route cords along door frames, window trim, or wall edges, and pin them flat with lite strip clips (VHB adhesive clips). For wreaths near the roofline, tap into your existing stringer wire runs with a short custom cord.
How should I store wreaths between seasons?
Keep each customer's wreaths in their labeled tote with the rest of their lights. Use the circle wrapping method for power cords — never figure-eight. Attach a zip tie label noting which house and which location (front door, garage, etc.). Leave clips and hardware attached so everything is ready to reinstall next season.