
Choosing between aluminum vs fiberglass ladders for Christmas light installation is one of the first real decisions every new contractor makes, and the wrong choice slows your crew down for an entire season. After running thousands of holiday light jobs and training installers inside our 43,000+ member community, I can tell you the conventional wisdom you read in homeowner forums does not match what works on a 60-house route. Aluminum ladders are lighter, faster to set, and perfectly safe for Christmas light work — the fiberglass-only rule is a myth that bleeds time and energy out of professional crews.
Why the "Fiberglass Only" Rule Exists (And Why It Does Not Apply to Christmas Lights)
The fiberglass ladder rule comes from electrician trade safety standards. An electrician reaching into a panel, tying into a service entrance, or working near energized 240V or 480V conductors absolutely needs a non-conductive ladder — that is OSHA territory, and there is no debate. The rule was never written for guys hanging C9 LED bulbs on a soffit.
Christmas light installation is a different job with a different risk profile. You are working with low-amperage 120V plug-and-play circuits that you control. You are not splicing into the panel. You are not standing the ladder against a transformer. The actual hazards on your route are falls, overreaching, ladder kickout, and overhead service drop contact — and a fiberglass ladder does not protect you from any of those better than aluminum does.
The myth gets repeated because it sounds responsible. But repeating it without context costs you real money. A 28-foot fiberglass extension ladder weighs 60-80 pounds. A comparable aluminum ladder weighs 40-50 pounds. Multiply that 20-pound difference across 8 hours, 12 reposition cycles per house, and 5 to 10 houses a day, and you have a crew that is gassed by 2 PM. Tired installers cut corners, skip standoff setup, and reach instead of reposition. That is what gets people hurt.
Aluminum vs Fiberglass: The Side-by-Side Comparison
| Feature | Aluminum Ladder | Fiberglass Ladder |
|---|---|---|
| Weight (28 ft Type IA) | 40-50 lbs | 60-80 lbs |
| Cost (Type IA, 28 ft) | $220-$320 | $380-$550 |
| Electrical conductivity | Conductive | Non-conductive when dry and clean |
| Best for | Christmas light installs, soffits, gutters, rooflines, takedowns | Direct work near energized service entrances or panel boxes |
| Durability over a season | Excellent — handles 100+ jobs without flex degradation | Good, but rails can develop hairline cracks if dropped on hard surfaces |
| Cold weather behavior | Stable, no flex change | Resin can stiffen and become more brittle below 20°F |
| Installer fatigue rating | Low — your crew finishes the day strong | High — noticeable by mid-afternoon |
The cost gap matters when you are buying for a crew. If you outfit four installers, that is roughly $1,000 in savings going aluminum, money better spent on professional Christmas light kits or Tuff Clips for your inventory.
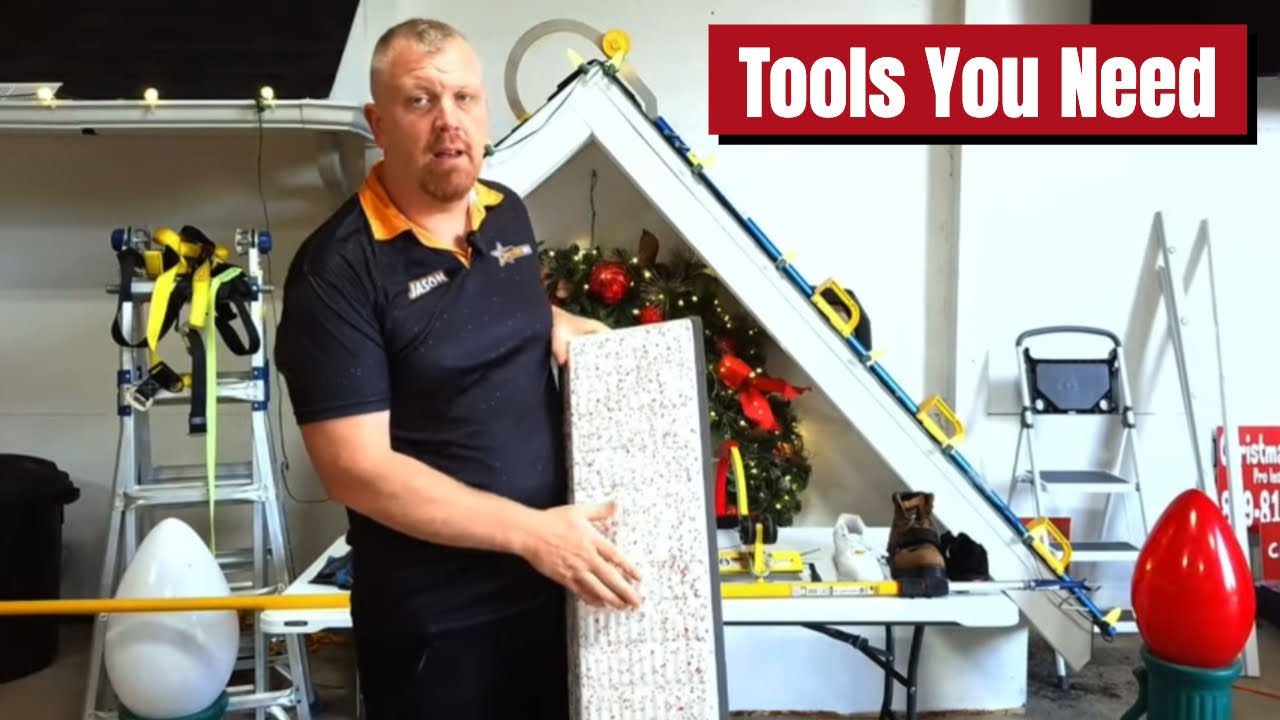
What Christmas Light Installers Use on Real Jobs
On my route, every truck rolls with the same ladder loadout. We have used this combination across thousands of installs and it has never been the limiting factor on a job:
- 28-foot aluminum extension ladder — the workhorse for two-story homes and most rooflines.
- 16-foot or 20-foot aluminum extension ladder — for ranch homes, single-story garages, and detached structures.
- 6-foot or 8-foot aluminum step ladder — for bushes, low porches, and column wraps.
- Ladder standoff (mandatory) — keeps the ladder off the gutter and gives you working room at the eave.
- Mr. Reach pole ($40-$50) — extends your reach for tucking strands and saves you from repositioning the ladder for a single bulb.
- Water-fed pole ($500-$1,000) — the upgrade pick for installers doing 60+ jobs a year. Reaches second-story rooflines without setting a ladder.
The Mr. Reach and water-fed poles are not ladder replacements, but they are huge time savers. Every minute you do not climb is a minute you do not have to climb back down. Pair these with a properly set aluminum ladder and standoff and you have the safest, fastest setup on the market.
The Real Hazards on a Christmas Light Job (None of Them Are Fixed by Fiberglass)
Let me walk you through the actual injury data we see in the installer community. The fall-from-ladder incidents almost always trace back to one of four root causes, and not one of them is solved by switching ladder material.
- Ladder kickout from improper angle. The ladder is too steep or too shallow against the wall, and it slides at the base when the installer is at the top. The fix is the 4-to-1 rule: for every 4 feet of working height, set the base 1 foot out from the wall.
- Overreaching. The installer stretches sideways instead of climbing down and repositioning. The center of gravity goes outside the rails and the ladder tips. The fix is the "belt buckle inside the rails" rule — if your buckle leaves the rails, climb down.
- Ladder placed on soft or uneven ground. Mulch, frost-heaved soil, or sloped grass cause the feet to settle mid-climb. The fix is leveling feet, ladder mitts, or a piece of plywood under the base.
- Contact with overhead service drop. The 120/240V cable from the pole to the house weatherhead. This is the one situation where fiberglass theoretically helps — but the correct answer is to never put any ladder near that line in the first place. Walk the property at the start of every job and identify the service drop before you set a ladder.
None of these failure modes care what your ladder rails are made of. They care whether you set up correctly, used a standoff, and trained your crew on overreach discipline.
Pre-Job Ladder Safety Check: The 10-Step Walkthrough
Before any installer climbs on my crew, they run this exact check at every house. New hires get a printed copy zip-tied inside the truck door for the first month.
- Walk the property and locate the service drop. Note where it lands on the house and which gable or eave is unsafe to approach with a ladder.
- Inspect the ladder rails, rungs, and rope. Look for dents, bent rungs, or fraying rope. Tag-out and replace anything questionable.
- Confirm the duty rating. For installer work with a tool vest and a few pre-bulbed strands, you need a Type IA (300 lb) or Type IAA (375 lb) ladder. Type II homeowner ladders are not acceptable.
- Set the base on level, firm ground. Use leveling feet on slopes, mitts on hardscape, plywood on soft ground.
- Set the angle to 4-to-1. Stand at the base, toes touching the feet, arms straight out. Your palms should rest flat on a rung at shoulder height.
- Attach the standoff. No exceptions. The standoff keeps the ladder off the gutter, gives you elbow room, and prevents the ladder from rocking on a curved gutter face.
- Three points of contact during climb. Two hands and a foot, or two feet and a hand — always.
- Tools in a fisherman’s vest, not your hands. Hands are for the ladder. Side-cutters and precision cutters live in vest pockets.
- Maintain belt-buckle discipline. If you cannot reach a clip without your buckle leaving the rails, climb down and reposition.
- Final scan before dismount. Make sure no extension cord, light strand, or vest strap is wrapped around a rung before you start down.
When Fiberglass Actually Makes Sense for Christmas Light Work
I am not anti-fiberglass. I own fiberglass ladders. They have a place in our equipment trailer for two specific scenarios, and I want you to know what those are so you can make an informed choice for your business.
Scenario 1: The customer's house has a service drop you cannot fully avoid. Sometimes the only path to a particular gable runs within 10 feet of an overhead 120/240V service line. If you must work in that zone, the right answer is usually to skip that section of the install and tell the customer why. But if you have decided to proceed, a clean and dry fiberglass ladder gives you a layer of protection that aluminum does not. Use it as a backup safeguard, not a primary one.
Scenario 2: Cross-trade work near energized panels. If your business is also doing permanent lighting installations and you are tying directly into a panel or sub-panel, fiberglass is mandatory under OSHA. That is a different scope of work than seasonal Christmas lights, but if you are running both services, keep a dedicated fiberglass set for the permanent install side of the business.
For the standard Christmas light install — clipping bulbs to a soffit, running pre-built C9 strands along a roofline, hanging wreaths, wrapping bushes, doing tree wraps, and routing extension cords from a GFCI outlet — aluminum is the right tool.
Ladder Standoff: The Single Most Important Accessory
If you take one thing from this article and run with it, make it this: buy a ladder standoff and use it on every install. A ladder standoff (sometimes called a ladder stabilizer or stand-out) is a U-shaped or wing-shaped attachment that fits over the top of your extension ladder and holds the ladder 12-18 inches off the wall surface.
Why it matters for Christmas light work:
- It keeps the ladder off the gutter. A bare ladder rail crushed against an aluminum gutter dents the gutter, costs you a callback, and often slips sideways during the climb. With a standoff, the ladder loads the wall above the gutter — solid, immovable, and undamaged.
- It gives you working room. You can clip bulbs to the soffit edge without leaning around the rail. That is the difference between a 12-minute roofline and a 20-minute roofline.
- It eliminates rocking. A standoff has two contact points 32 inches apart, while bare ladder rails are 18 inches apart. The wider stance means the ladder cannot rock left or right under you when you reach.
- It works on metal, vinyl, brick, and stucco. No surface is off-limits, and most standoffs come with rubber pads that protect siding.
A quality standoff runs $40-$80 — call it a one-time cost that pays for itself within 3 jobs in saved time and zero gutter callbacks. This is on the same essential list as a fisherman’s vest, precision cutters, and a kilowatt meter or clamp multimeter for verifying power draw before you energize a long run.
Cold Weather Considerations
Most Christmas light installers do their heaviest install volume from October through early December, and takedowns from January through February. That means a lot of ladder work happens at temperatures below 40°F, and sometimes below 20°F.
Aluminum is dimensionally stable across the entire installer temperature range. The rails do not flex or stiffen with cold. Fiberglass behaves differently — the resin matrix can stiffen and the ladder feels less "forgiving" on rung bounce, and the rails become slightly more brittle if dropped on a frozen driveway. None of this is dangerous if you maintain your equipment, but it is one more reason most pros stick with aluminum during takedown season.
Cold also makes weight matter more. Your crew is wearing heavier clothing, gloves limit dexterity, and fatigue compounds faster. A 20-pound lighter ladder makes a real difference in how many takedowns your crew completes per day.
Pairing the Right Ladder with the Right Workflow
The ladder is one piece of a system. The faster your install workflow, the fewer ladder cycles per house, and the safer your crew. Two upstream improvements multiply ladder safety:
Pre-bulbing and pre-clipping at the shop is the single biggest workflow change you can make. When your strands roll out of the truck already bulbed and clipped, you climb the ladder once per section instead of three times. Fewer ladder cycles equals fewer chances for kickout, overreach, or loss of footing. We cover the full shop workflow in our pre-bulb and pre-clip guide.
Using C9 LED bulbs on professional install kits reduces both the bulb count and the wattage you have to manage on the roof. C9 LEDs draw under 1 watt each, so 100 bulbs pull less than 1 amp, and you can run 500 to 1,000 feet on a single SPT-1 line without fear of overloading the circuit. Less power management means less time on the ladder fiddling with extension cord routing.
Related Guides
- Christmas Light Installation Safety: A Pro Contractor’s Complete Guide
- Christmas Light Installation Equipment List: Everything You Need
- How to Hang Christmas Lights on a Roof Like a Pro
- Christmas Lights and Gutters: The Complete Contractor’s Installation Guide
- How to Hang Christmas Wreaths Like a Pro Installer
- How to Pre-Bulb and Pre-Clip Christmas Light Strands
Frequently Asked Questions
Are aluminum ladders safe for Christmas light installations?
Yes — aluminum ladders are safe and actually preferred by most professional Christmas light installers. The fiberglass-only rule comes from electrician trade safety, where workers tie into live panels and service entrances. For Christmas light work with low-amperage 120V plug-and-play circuits, the real hazards are falls, overreaching, and kickout — none of which are reduced by switching to fiberglass. Use a Type IA aluminum ladder with a standoff for the safest, fastest setup.
What size ladder do I need to hang Christmas lights?
Most professional crews carry three sizes: a 28-foot extension ladder for two-story rooflines, a 16-foot or 20-foot extension for ranch homes and detached garages, and a 6-foot or 8-foot step ladder for bushes and porches. The 28-foot extension covers about 90% of residential rooflines when set at the proper 4-to-1 angle and reaches a typical 24-foot eave with usable working room above the top rung.
Do I need a fiberglass ladder if I am working near power lines?
If your install path puts you within 10 feet of an overhead service drop, the correct answer is to skip that section of the install — not to swap ladders. Walk the property at the start of every job and identify where the service line lands on the house. Fiberglass is a backup safeguard at best, never a primary plan, and it does nothing for the fall, kickout, and overreach hazards that cause the actual injuries on Christmas light routes.
Should I use a ladder standoff for Christmas light installations?
Yes — a ladder standoff is the single most important ladder accessory for Christmas light work. It holds the ladder 12-18 inches off the wall, keeps the rails off the gutter, gives you working room to clip bulbs to the soffit edge, and eliminates rocking by widening the contact stance from 18 inches to 32 inches. A quality standoff runs $40-$80 and pays for itself within 3 jobs in saved time and zero gutter callbacks.
Is a Mr. Reach pole or water-fed pole better than a ladder?
Neither one replaces a ladder, but both reduce ladder cycles dramatically. A Mr. Reach pole ($40-$50) extends your reach for tucking strands and adjusting bulbs without repositioning the ladder. A water-fed pole ($500-$1,000) lets you reach second-story rooflines from the ground for many tasks. Pros use these alongside an aluminum extension ladder and standoff — every minute you do not climb is a minute you do not have to climb back down.